Claiming and Verifying your Event Listing
At FindHaunts.com we want to ensure that the data for your event listing is absolutely correct and from the best source – the owner of the event!
In order to accomplish that, you must prove that you control the event and associate it with your FindHaunts.com user account. Each account may control more than one event, so you won’t have to juggle multiple login accounts. The process of proving ownership of an event is called ‘claiming’ the event. This documentation will help you claim your event and verifying it to enable all the features available to you on FindHaunts.com.
Creating a FindHaunts.com User Account
If you have never visited FindHaunts.com before, it’s unlikely that you have a user account with us. However, if you are unsure, visit the listing for your event. If you see the message about the event being unclaimed, you will probably need to create a new user account. If your event is claimed, then you likely already have an account and should used the lost password feature to log in if you don’t remember your credentials.
How to Sign Up
To signup for a FindHaunts.com user account, visit: https://findhaunts.com/signup and you will be presented with the form below:
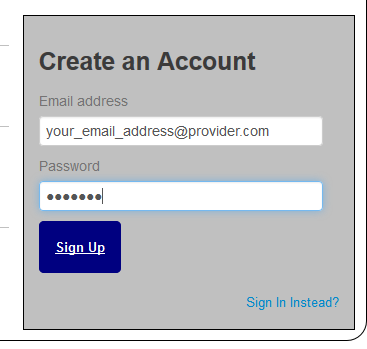
We don’t need much information from you at this point, just use your email address and provide us a password. Click on ‘Sign Up’ to continue.
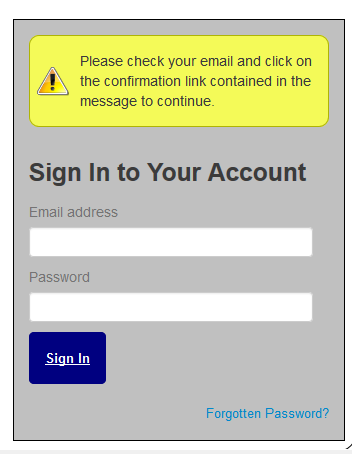
You will be prompted to check your email, which you should do now.

Within a few minutes, you will receive a message similar to this message below. If you don’t see it soon, check your spam message folder in case it got caught, and please add us to your contacts list or safe sender list.
Click the link in the message to verify your account.
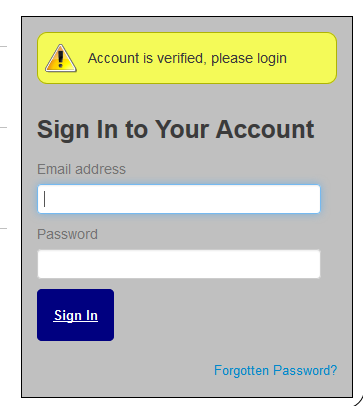
You will be taken to this page that shows your verification was successful, and now you may log in from here. Use the same email address and password you provided when you signed up.
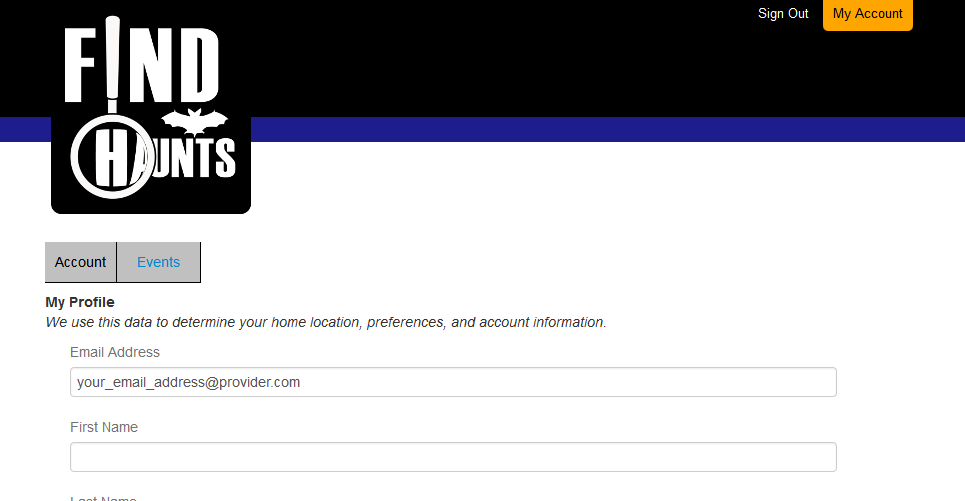
Now that you have logged in successfully, you are taken to your account page. You have two options at this time: Account and Events. The Account page lets you manage your FindHaunts.com user account, including your name, address, and password information. The events page lets you manage all the events that you have claimed and associated with your account.
You are now ready to claim your event.
Claiming your Event(s)
- Sign in and visit https://findhaunts.com/events
- Scroll down to where it says ‘Claim an Event‘:
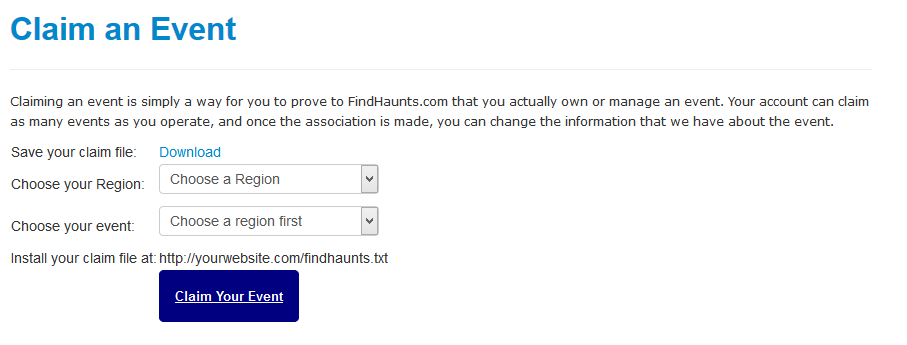
- Click on the link titled ‘Download‘ next to “Save your claim file:“
- Save that file (findhaunts.txt) somewhere you can find it again, like on your desktop.
- Upload the findhaunts.txt file to your website. If you don’t have access directly, ask the person that maintains the website for you to upload the file so that it is accessible at: https://www.yourwebsite.com/findhaunts.txt (NOTE: Upload this file to ALL of your websites that you will be claiming)
- Once that is uploaded, return to the the ‘Claim an Event‘ section at https://findhaunts.com/events
- Choose your Region (State) and your Event from the list, then click the ‘Claim your event‘ button.
The system will go out and make sure it can read your claim key from your website, and if so, it will associate your user account with that event and you will be able to modify the listing and add dates/times/prices/etc to it.
If you continue to have difficulty claiming your event after following all the instructions in this section, please Contact Us and ask for support with claiming an event.
You must now update your event, and optionally verify the event.
Updating your Event listing and verifying your event
Now that your events are claimed, it’s time to update the information for this year and validate your event. YOU MAY UPDATE YOUR EVENT INFORMATION AT ANY TIME BY VISITING THE EVENTS TAB IN YOUR ACCOUNT.
Visit https://findhaunts.com/events and scroll down to the section titled ‘My Claimed Events‘:

Click on the ‘edit/verify‘ action for any of your claimed events to be taken to the event profile page. There are three sections to update in your event profile: Event Dates and Times, Event Admissions, and the Edit Listing sections.
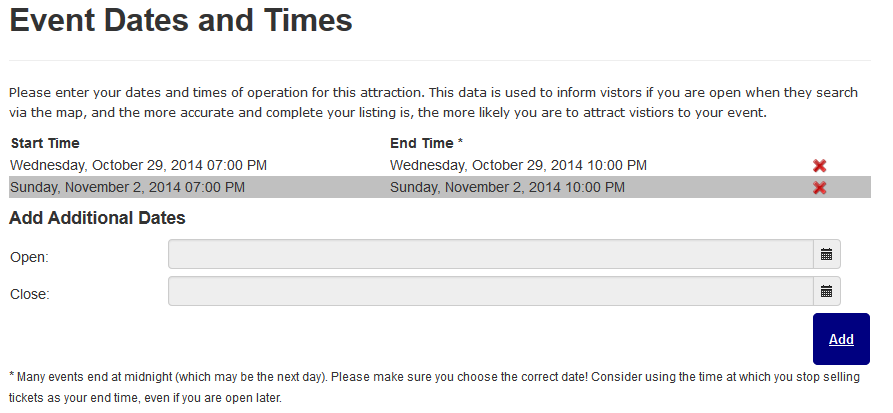
Event Dates and Times allows you to add the dates and hours of operation for your event. By providing this to FindHaunts.com, users can plan trips to your event, AND FindHaunts.com will inform users if you are open that evening if you have a verified event.
You may remove a date by clicking the red X next to any listing.

Add event admissions to give users an idea of the cost to attend your event.
You may remove an admission by clicking the red X next to any listing.

Finally, make sure that your event details like address, phone number, website, and contact email addresses are up to date and correct. HAVING A BAD ADDRESS CAN CAUSE USERS TO BE DIRECTED TO THE WRONG LOCATION – IT IS YOUR RESPONSIBILITY TO ENSURE THIS IS ACCURATE AND THAT THE CORRECT POINT ON THE MAP IS MARKED FOR YOUR EVENT.
Once you are done editing your event, click the the ‘Continue to Verification‘ link. If you have already verified, the button will display ‘Save Profile‘ instead.
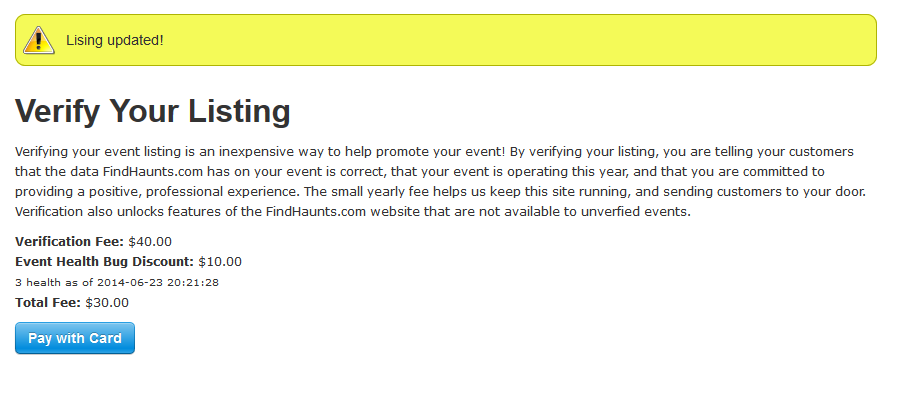
Your profile will be saved and this page will be displayed to you if you need to verify your event. The fee is displayed on screen, and you may pay for your verification using the ‘Pay with Card‘ button displayed. Processing is handled by Stripe.com and is safe and secure. Your credit card details are never stored with FindHaunts.com for any period of time.
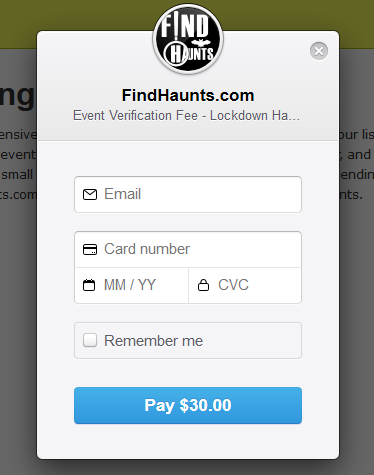
Finally, this is the dialog used by Stripe.com to collect your payment information. Once the payment is successfully processed, your event will be validated, and it’s red dot on the map will be replaced with the green marker, and all FindHaunts.com features will be enabled for your event.
